How to Back Up your Photos Library on a Mac
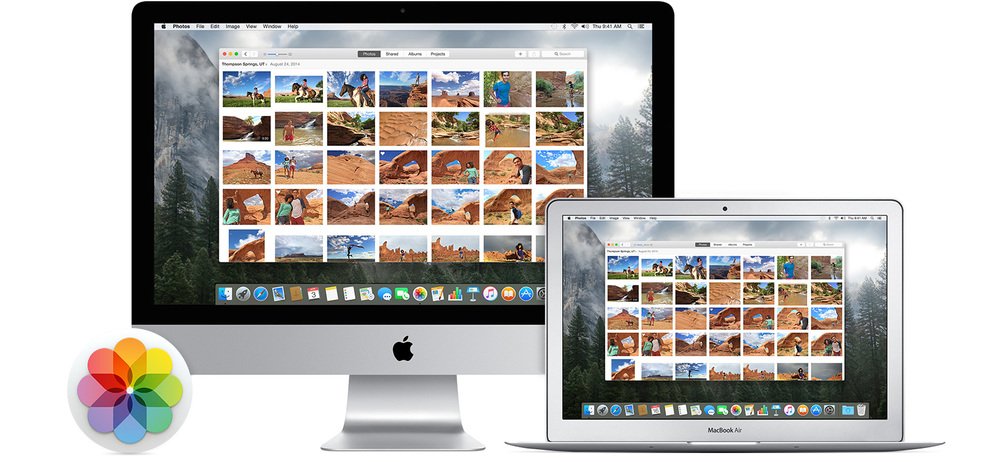
Backing up your Photos or iPhoto iLibrary to make sure all your pictures are safe and can be easily recovered, is one of the most important task and should be performed regularly.
Your photos are one of the most important and precious files that you store on your Mac and it is critical that you maintain regular backups of them, either locally or in the cloud, or both.
iCloud Photo Library
Using the iCloud Photo Library is the most straight forward and reliable way to back up all your photos in the cloud and also sync them across all your Apple devices such as, iPhone, Apple TV etc.
It was always a good idea to keep a local backup of your iCloud Library. The best way to do that is to download all its content to your Mac. To download your full iCloud Photo Library to your Mac, you can follow the following steps.
- Open the Photos app on your Mac.
- Click Photos in the menu bar and select Preferences from the drop-down menu
- Choose the iCloud tab.
- Put a check in the box next to Download Originals to this Mac.
Back Up Your Photos Library Manually
You can also manually back up the Photos Library to an external drive or somewhere on your Mac. Here’s how to make a copy of your Photos Library manually.
- Open a Finder window, select your home directory in the sidebar and choose Pictures.
- Inside the Pictures folder, you’ll see a file called either Photos Library Copy the Photos Library to a location other than your hard drive, such as an external drive.
- Repeat this process whenever you import new photos into Photos, so you always have a current backup of each library. Do not, however, overwrite any existing backup as this would defeat the archival process. Instead, give each backup a unique name.

